A lovely way to finish any little stitchery or applique project is in an embroidery hoop! Here I'll go through the steps to frame your work of art.
Plan ahead before you stitch! You want a background piece larger than you would normally use. I'm framing this one in an 8" hoop, and my fabric extends 3" or so beyond that.

Done stitching? Gather your supplies - a nice quality hoop (hey, it's a frame, it should be kind of cute, right?), scissors, a needle and strong quilting thread, a tracing pen or pencil, and some backing fabric or wool felt (works great because of its stiff texture), and a complimentary embroidery floss.

First prepare your backing. Separate your hoop, and lay the inner hoop down on your fabric or wool felt. Trace around the outer edge of that inner hoop and cut out on the traced line. I love a vanishing fabric marker for this little task. Poof, those marks disappear in a day or two. Magical.

Let the framing begin! Lay your little masterpiece atop the inner hoop, and center it with the outer hoop on top. You'll have to play around a bit to line it up just right. Once you do, tighten the screw while pulling the edges taut.


Ta daaaa! Now grab your scissors and snip off the excess. Leave a good inch to an inch and a half around the edge.


I kinda like it like this...frilly...girly...

Ok, now let's clean it up. Flip it over and thread yourself a loooong strand of strong quilting thread. You need to be able to stitch all around that excess fabric with just one strand. Put a nice big knot in it, and pull your thread up through the inside of that excess. (I think the picture is a better explanation here...)


Now start stitching a wide running stitch through that excess fabric, pulling the thread taut and cinching it as you go.


Back to where you started, cinch that thread nice and tight and knot it well. All that fabric is pulled to the back now! Magical yet again.

Now the front of your little creation looks great, but maybe you want to clean up the back too? Now's the time to sew your little backing fabric or wool felt over this pretty mess.
Cut yourself a piece of embroidery floss (doesn't have to go all the way around), knot it, and pull it up through your fabric right up by the hoop.

Blanket stitch! Lay your wool felt over the back, and start stitching it down. You can also do a cute little whip stitch. Whatevs... P.S. If you want a little extra help with blanket stitch or any other stitch, let me recommend Mary Corbet's Needle & Thread AWESOME how-to stitch videos. She's my hero.

When you run short of thread, knot it, and bury it like so...I love this trick...

As you get to the end, your wool felt may have stretched. You might then trim it up a bit.

Sew to the end and voila! You have a lovely little stitchery all framed up and ready to go.


Let me know what you think! Oh and you can hang it right from the little screw or add a jute hanger.
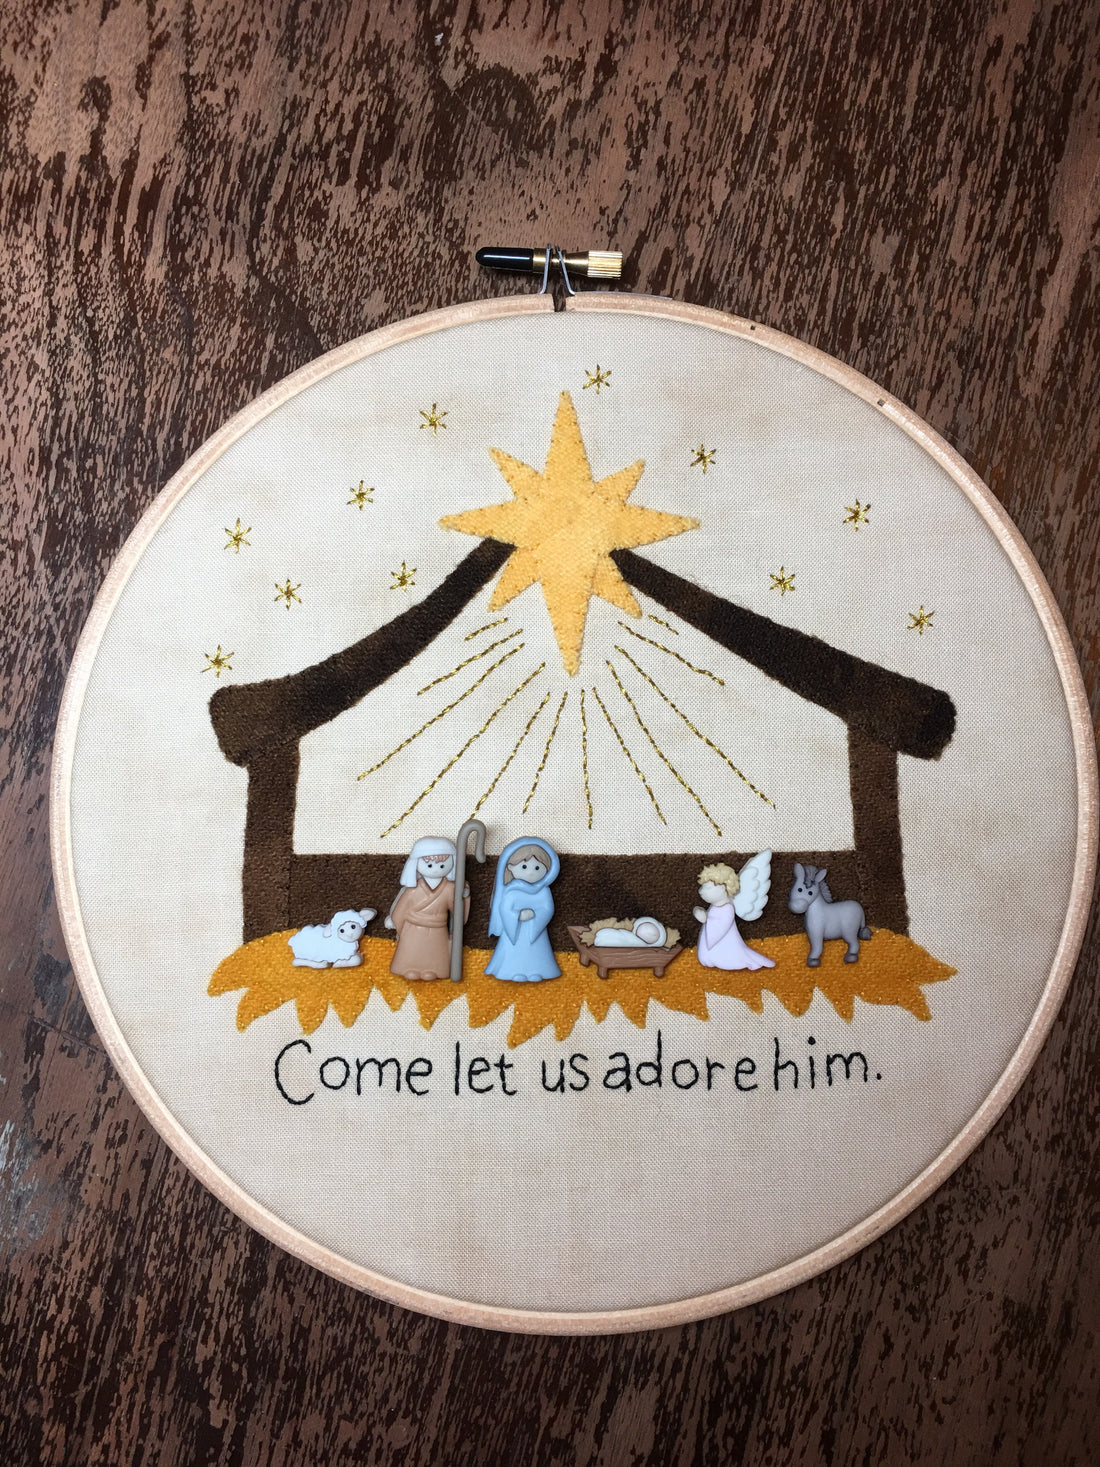
This pattern is called Come Let Us Adore Him. Visit my website for patterns, kits, hoops, buttons, all that jazz.
Let's chat again soon!
Sara