Happy spring!
It's always an exciting day for me when I get to release new patterns. Three new ones this week! Go to my website and check 'em out. They're at the top of the Spring & Summer Patterns page.
Which takes me to this blog post - I framed one of those new patterns, my first time trying it. I love the look. Here's what Welcome Spring! looks like in its cute little frame.
So I thought I'd take you through how I did it. There was some trial and error, and fingers very sticky with fabric glue, a little swearing...but eventually I got it.
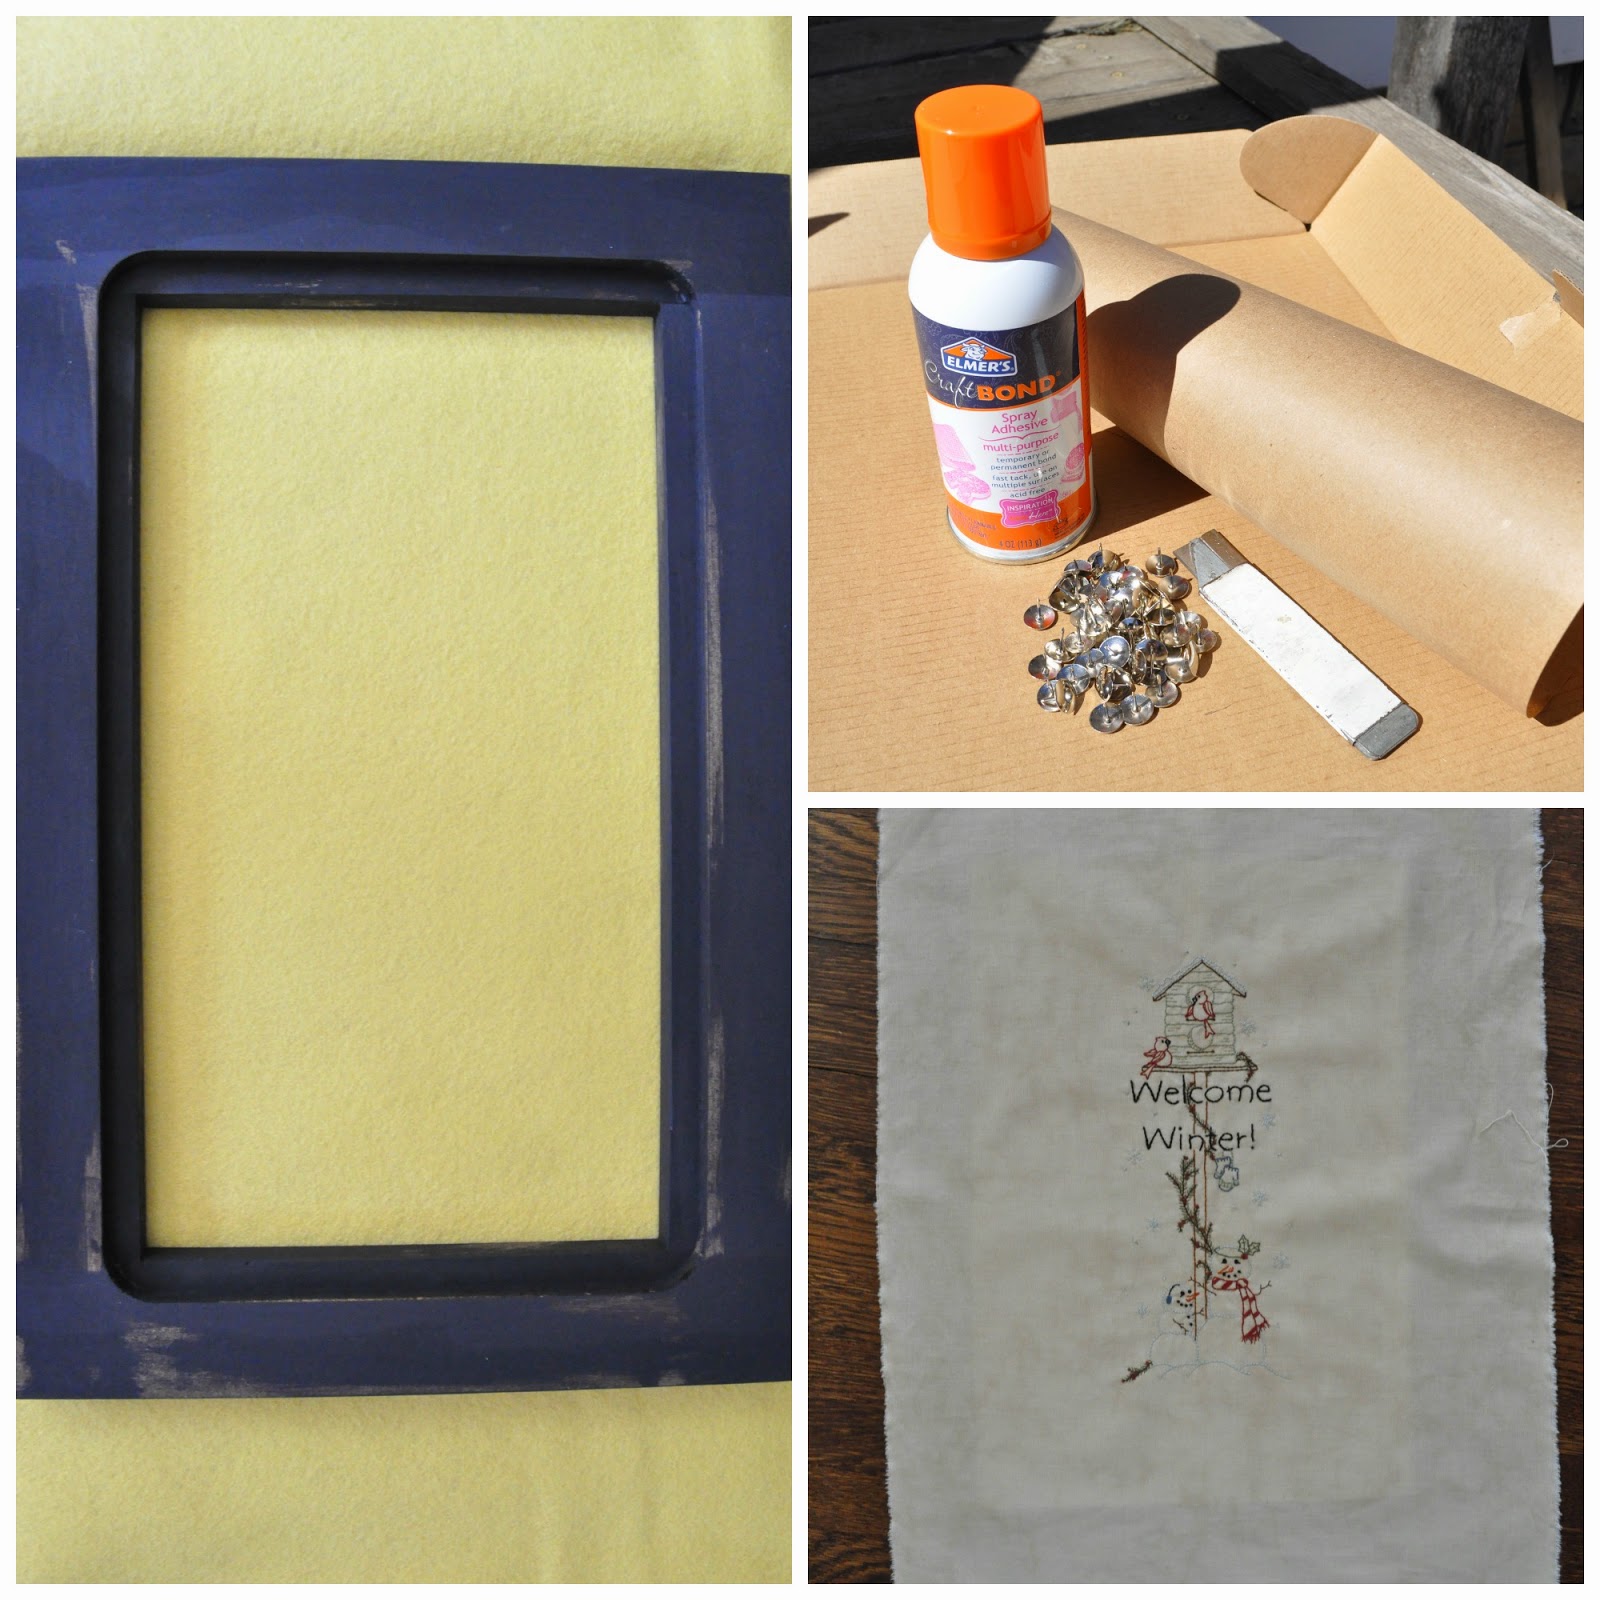
Here's what you'll need: Some fairly stiff cardboard and a box cutter, a multi-purpose adhesive, thumb tacks, nice paper for the back, a stitchery with room around the edges to frame, and your frame! But of course. The type of frame I used has that nice groove on the back to place your stitchery. Oh, and you'll need a pencil and tape measure which I forgot to place in the picture.
Full disclosure here... my camera was full, stopped taking pictures, and I didn't notice until much later. I thought it was being "weird" and I switched to another camera. Oops! But I'll explain, and we'll get back to photos in a bit. I promise.
Measure the dimensions of that groove on the back of the frame, draw the same size rectangle onto your cardboard, and use your box cutter to cut it out. See how it fits, and cut it down if need be. It shouldn't be too tight, as you'll need a little room for the fabric to fit in there.
Next place your fabric atop the cardboard and fuss around with it until you have it nicely centered. Once it looks just right on the front (and this can take quite a bit of fussing), lay it down, and use your pencil to trace around the cardboard so you know right where it goes.
Lift up the cardboard, and spray that adhesive onto the fabric. Lay the cardboard back down within those traced lines, and flip it over to make sure everything landed where you wanted it to. If not, no big deal. The adhesive isn't super glue, and you can repeat until it's to your liking.
Back to the pictures! Place the whole thing into your frame, and again - look at the front to make sure you're all nice and centered.
Once everything is positioned just as you want it, let the adhesive dry... yeah right! Ok so that would be the right thing to do. Me, I get excited to see the end result, and don't wait. Don't be like me. Let your adhesive dry.
THEN, get out those thumb tacks and secure that baby down. Pierce right through the fabric, into the wood in that groove. Keep peeking at the front to make sure things haven't shifted.
Now cut away all that extra fabric, leaving just enough to tack down to the back of the frame. Be careful not to pull too hard because the fabric can still shift. Only because you didn't let your adhesive dry! Or maybe you did... good job if you did.
Now cut out a piece of paper just a bit smaller than your frame. Cue that elusive tape measure and pencil.
Place the paper over the back of the frame, and tack down, making sure to catch the fabric with each tack. Now you have a pretty nice looking back! You just need to add a hanger, of which there are maaaannnnny types at your local hardware store.
And there you have it. Now I'm sure there are many ways to skin this cat, but this worked for me, and was pretty painless, definitely inexpensive.
Frames and more stitcheries are on my website - stop on by! And visit my Facebook page to see what else I've been working on lately.
Happy stitching in the sunshine!
Sara


