Hey All!
I LOVE working with metallic embroidery floss. Well, I don't exactly love working with it, but I do love its effect. It can be tricky! So I've put together a few tips to help you work with the stuff.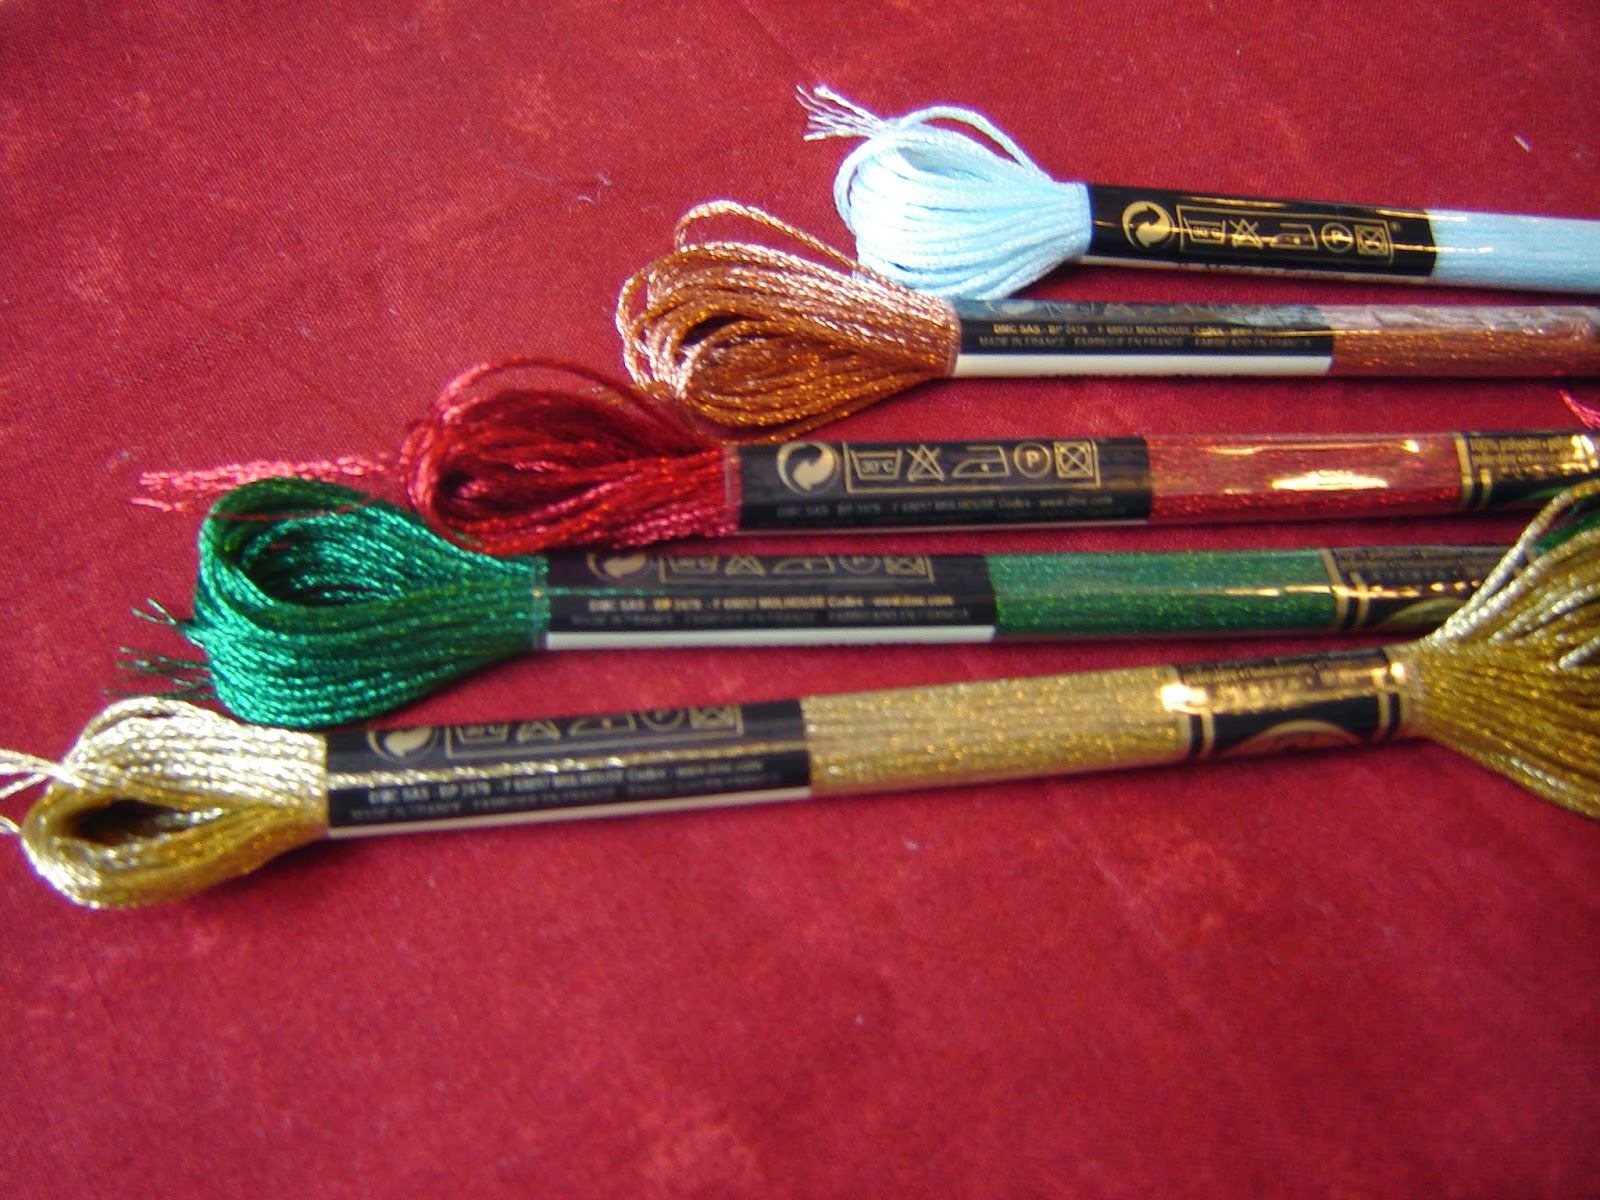
First off - it's kind of difficult! No two ways about it, it just is. You have to have a little extra patience to work with metallics. But they add so much to a project, that I think they're worth it. Here are a few things I've done with metallic hand embroidery floss.
On A Patchwork Forest, I used a blue metallic floss to give the embroidered snowflakes a little sparkle.
On All is Bright, the metallic gold gives the project and old-fashioned Christmas card look.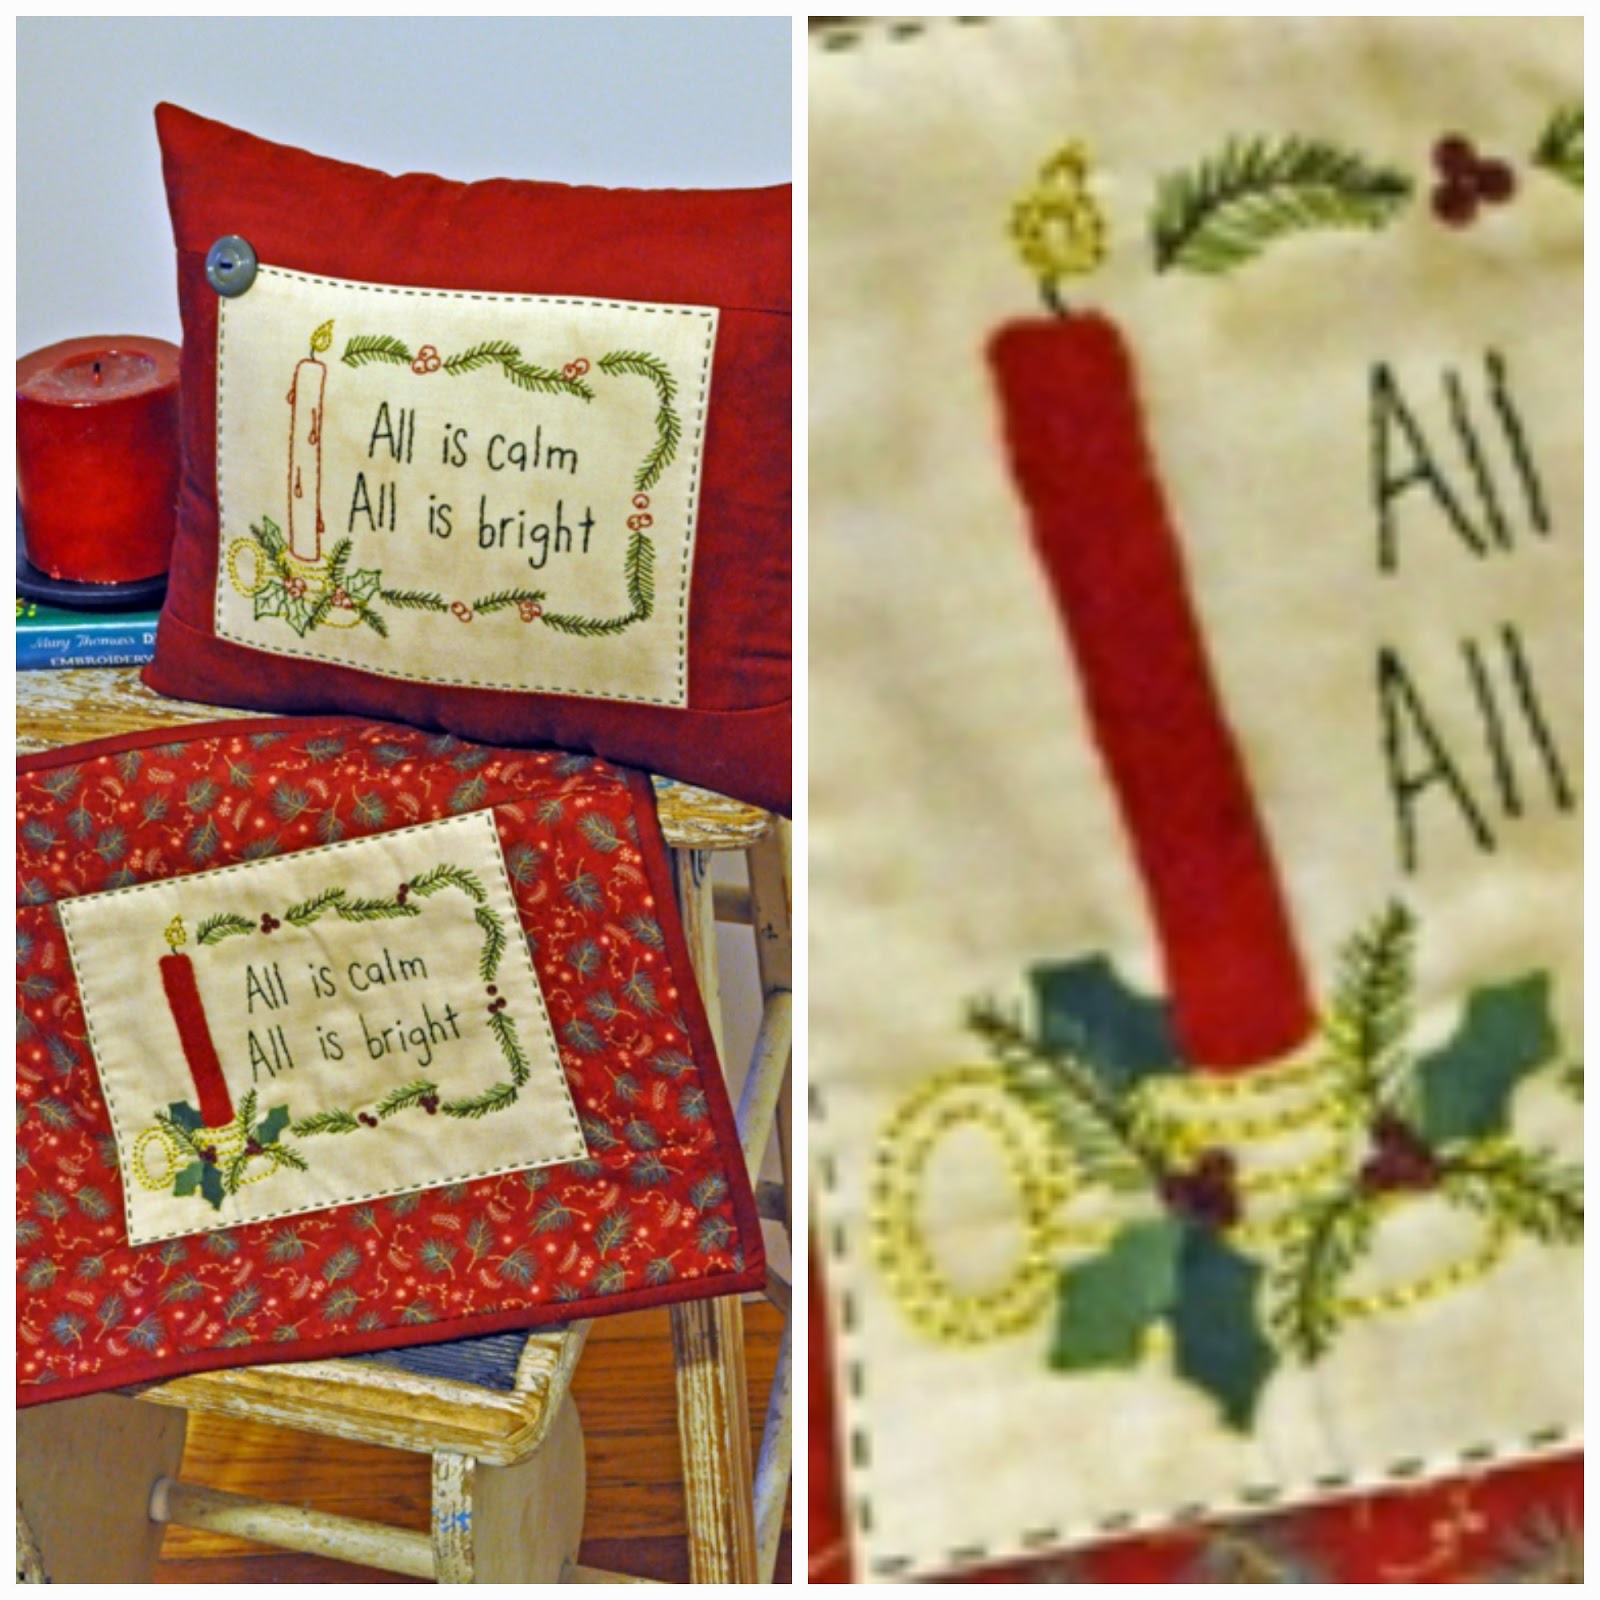
And on Christmas by the Fire, the metallic golds and copper set the fire aglow.
My patterns call for DMC metallic floss. There are other brands out there, but DMC is just the one that I've tried. I like their colors and availability. Here are a few I've picked up at local craft stores.
Below is a picture of what happens to the ends of this floss. It frays like crazy! Just be aware of that, and USE SHORT STRANDS. Plan to cut your floss to no more than 15" or so. It takes a little extra time when you need to re-thread the needle, but the overall frustration level will be less - trust me! And TRIM THE LOOSE END AS YOU GO to prevent it from getting all knotted up. You'll lose some length, but the look will be cleaner.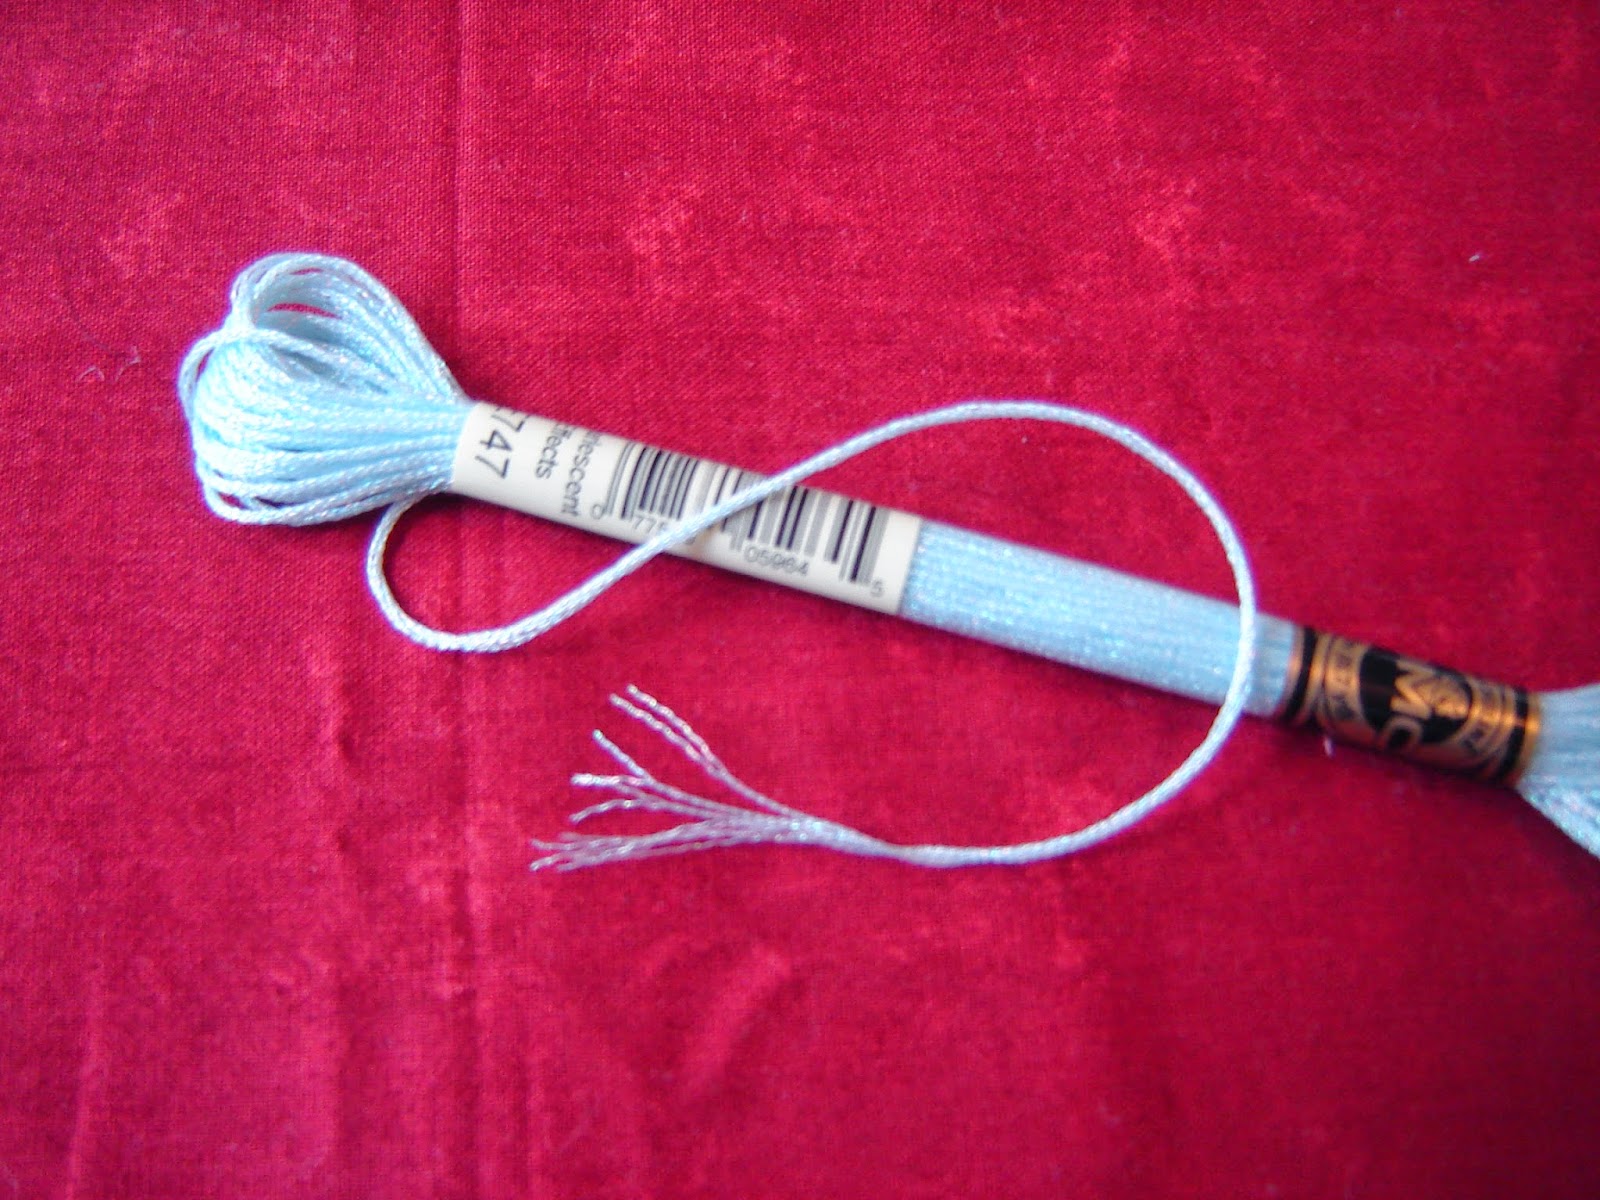
USE A NEEDLE WITH A LARGE EYE. I like to use a chenille needle like the one pictured on the bottom. The metallic-ness (my new word) holds together better when there's less friction against the needle. I think this is the most important tip of all!
PLAN ON THERE BEING A LITTLE WASTE. It' hard to store this stuff once it's been separated! DMC metallics come in 6-strand skeins, and if you don't use all six strands for a project... well... those leftover strands end up looking like this - pretty but not all that functional. When I start a new project, I always start with a fresh strand of floss.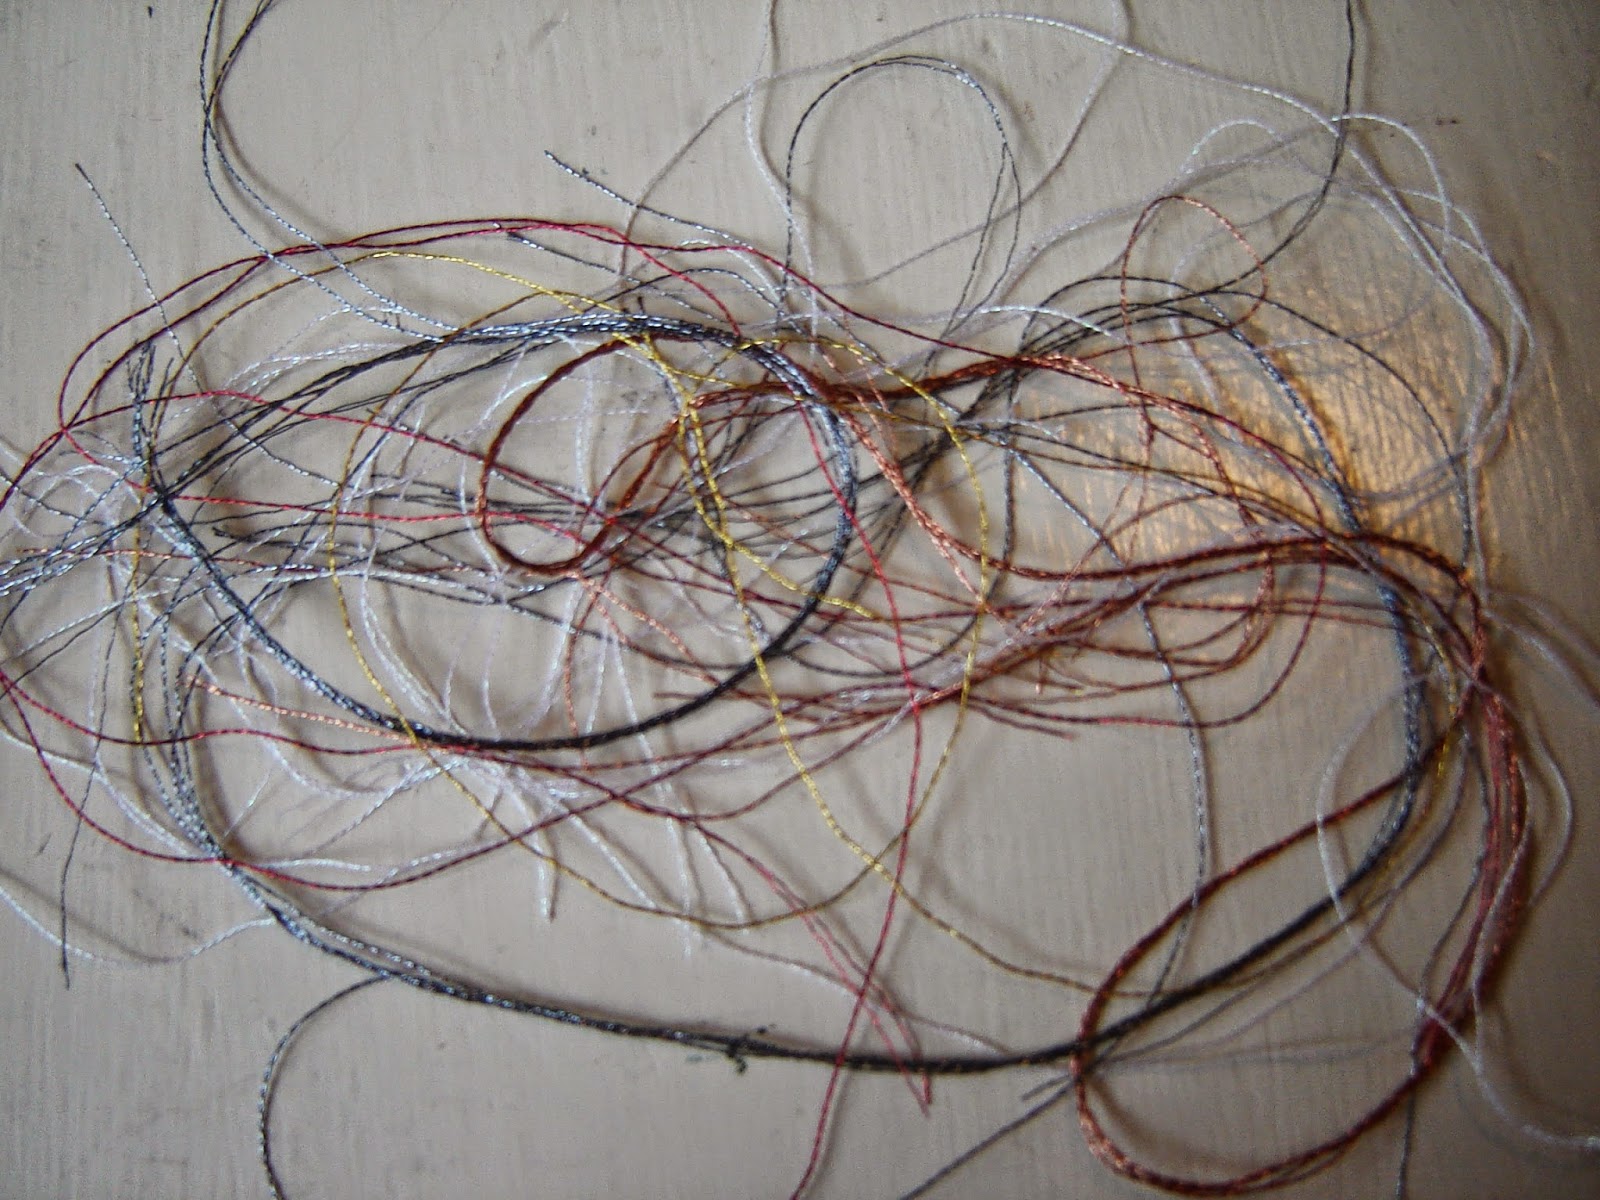
I like to store all of my embroidery floss like this. Pick up these little PLASTIC FLOSS BOBBINS at most craft and sewing stores. And be sure to LABEL THE BOBBIN with the floss color so you can easily find it for your next project.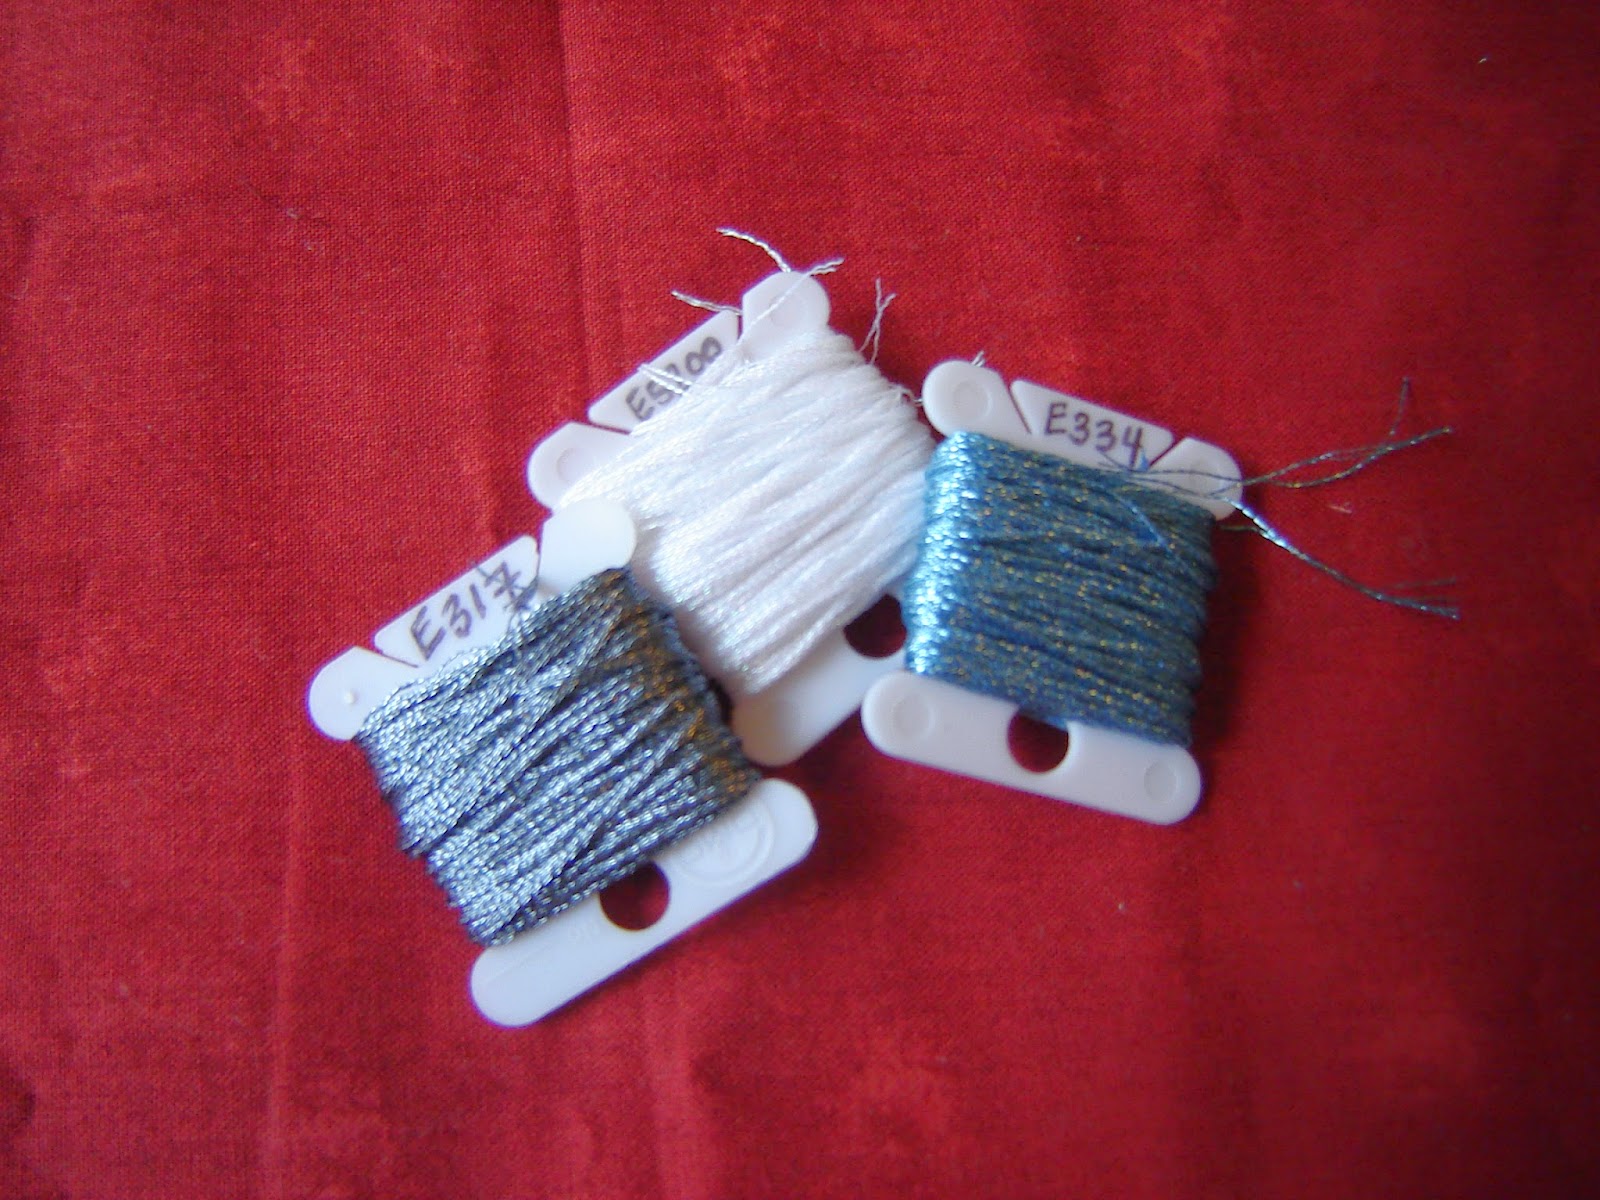
SEW SLOWLY! In this picture, you see what often happens as you embroider. The strands separate. Now you can try different methods of knotting to alleviate this, but I find that just going slowly, and taking the time to pull individual strands through when necessary, is the way to go. It's just a matter of being patient and knowing that the end result will be worth it!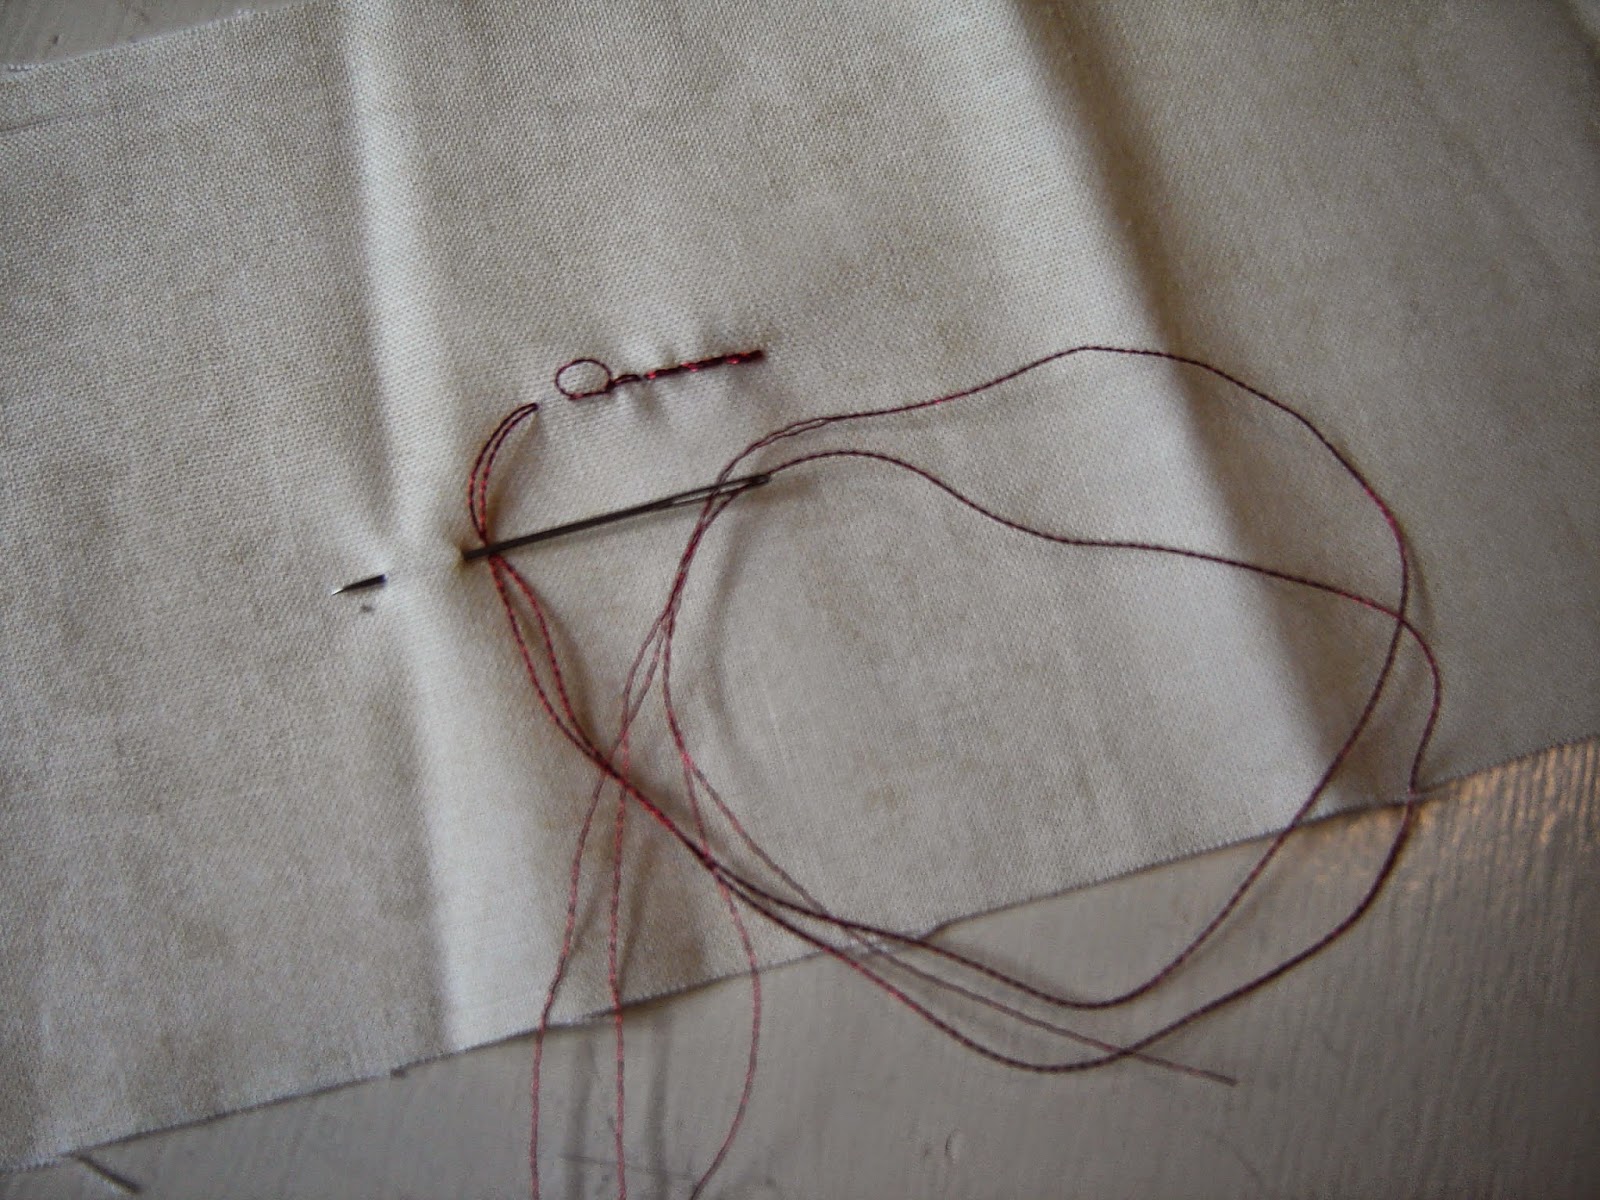
If you're a machine embroiderer, I came across this helpful tutorial from Nancy's Notions. I haven't done any machine embroidery myself, but I think her tips make a lot of sense.
So there you go! If you have any questions, don't hesitate to shoot me an email. I'd love to hear from you!
Sara