Have you ever used a freezer paper template to cut out your background?
I love the technique. Quick and easy, and it allows you to embroider on your piece of background fabric before you cut it down to size. It works especially well when I'm not yet sure what I want the borders to look like. This way I can just embroider away and then decide what fabrics I like best for the border. And because you're not handling the final cut edges, you don't need to worry about fraying.
So here you see where I embroidered onto a background (times two) before cutting it down to size. By they way, I always have something behind my fabric so that you don't see the mess on the back. You can use a piece of muslin or batting, or like in this case, I used some lightweight stabilizer that I ironed to the back. I'm done with the embroidery, now what?
Time to make a template out of freezer paper! Here's what you need - well...the paper, and then your standard cutting tools - mat, ruler, and rotary cutter. How many of those do you have? Be honest...
Time to cut. So in this case, the pattern tells me to cut my background to 5 1/2" x 11 1/2". So first I cut my template to that size. Square up and cut, just like you would a piece of fabric.

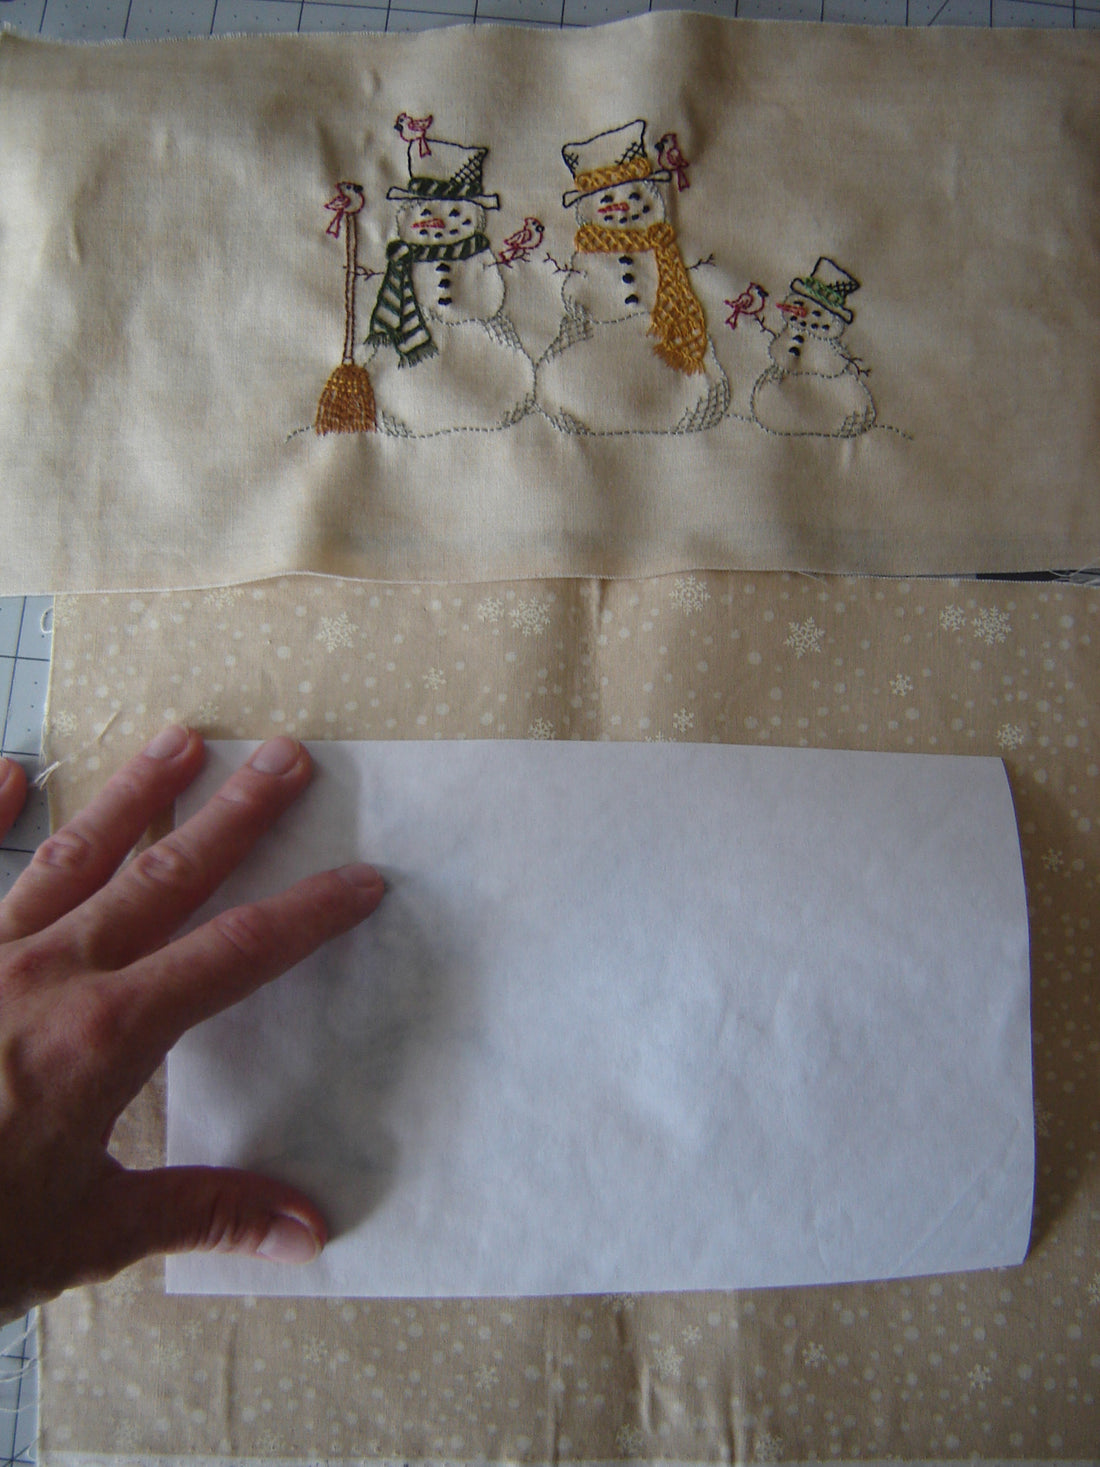
Now place the template atop your background, centering the paper right over the design. And don't worry, you can try this again and again if it doesn't center correctly the first time. You can center it over the back of the fabric, but I find it easier to see the image through the paper if I place it right on the front.
Now use a hot iron, and press it in place, sticky side down. It will stick lightly to the fabric.
Hold your background up to a sunny window or place it over a light box to check and see if everything lined up just the way you wanted it. If not...
...peel away the freezer paper, and try again! And again! And again! It will stick over and over. How many times? I don't really know. But several. Enough.
Happy with the orientation of the paper atop the fabric? Time to cut! Just line up your ruler with the edges of the freezer paper and use your rotary cutter to cut away the excess fabric.

Once you've cut around all four sides, easily peel away the paper, and your background is complete! Now you can move on to the next step of adding a border.
Use that same template again and again. If you plan to make a few of something (Christmas presents perhaps...), mark the template with its pattern name and dimensions and store for later.
That's it! Easy right? Questions, comments, more ideas, I'd love to hear them!
Keep up to date with what's new at Blueberry Backroads by liking us on Facebook and signing up for our newsletter. That's where I'll let you know when this pattern is available.
Thanks for visiting and happy stitching!
Sara