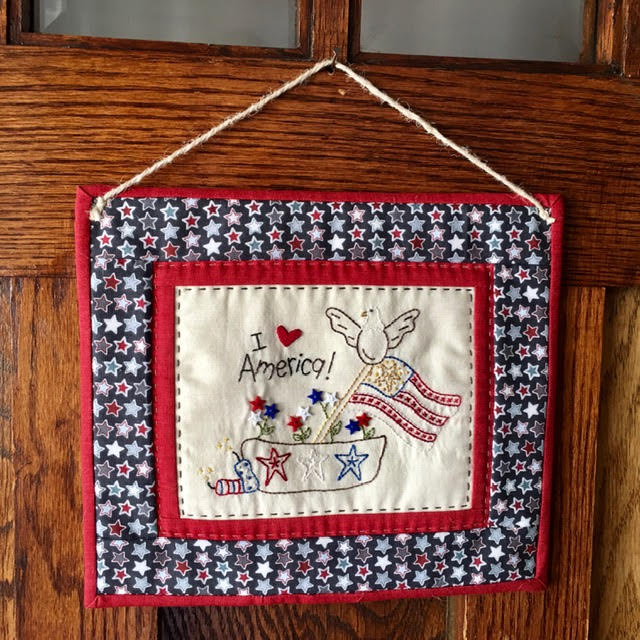
So you've finished your mini quilt, now how to hang it? Let me show you my favorite way! It involves a little jute, a dowel and displays like this-
All you need is your little wall hanging, heavy yarn or jute for hanging, strong thread, sewing scissors and a needle, a hot glue gun, and a dowel and scissors for cutting it to size. For this little quilt, I used a pretty thin .187" dowel. You might use a little thicker dowel for a heavier wall hanging.
Thread your needle and cut your jute 2 or 3 inches longer than your wall hanging. Tie a knot at each end of your jute. Go ahead and start heating up your glue gun; you'll need it shortly!
Position one of those knots about a 1/2" in on your wall hanging. Just inside the binding is a great spot. Then stitch through the knot 4-5 times to secure it in place. Knot your thread on the back and repeat on the other side of your wall hanging.

Your hanger is attached! But if you try to hang it this way, it will buckle in the middle. Here's how we fix that. Cut your dowel to just shy the length of your wall hanging. It needs to lie outside of the little knots on your hanger in order to keep them from pulling on your wall hanging.
Run a nice thick line of glue across the entire top of your wall hanging. (Take a quick photo before it dries!) Then press your dowel into the glue and hold in place for a moment.

Voila! Your wall hanging is now ready to display.
Another way to hang these little minis is by inserting two safety pins into the top corners. Quick and easy as well. However, this requires two nails or tacks in your wall and is more prone to buckling. But not a bad option in a pinch.

I also made this little wall hanging using wool applique. Find it here! And visit the videos on my Facebook Page to learn stitches and other techniques used in handwork. Thanks for exploring embroidery with me!
Sara